
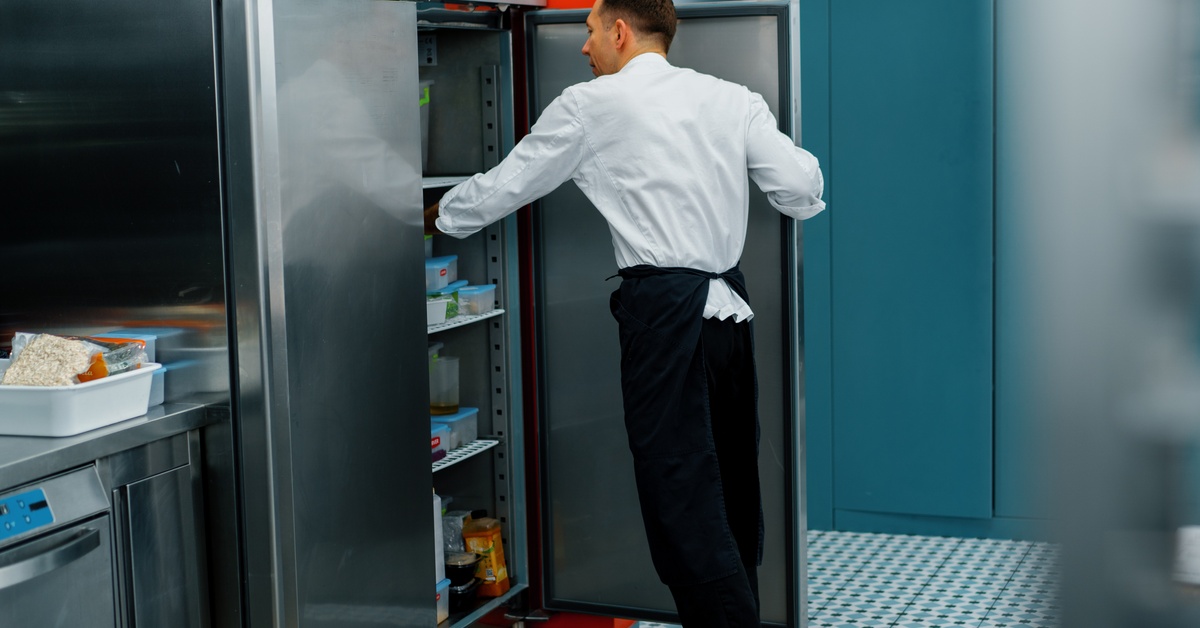
The walk-in cooler represents a substantial investment for any commercial kitchen or food service operation. These units work tirelessly to preserve the quality and safety of perishable inventory. At the heart of their efficiency lies a component that people often overlook: the door gasket.
This simple seal plays a massive role in temperature regulation, energy consumption, and the overall longevity of the cooler’s compressor system. A compromised gasket allows cold air to escape and warm, moist air to enter. This exchange forces the refrigeration system to work harder, which leads to higher utility bills.
These walk-in cooler gasket maintenance tips to extend lifespan will ensure the cooler operates at peak performance, which safeguards valuable stock from spoilage. It also helps businesses avoid expensive emergency repairs and premature equipment replacement. Many operators postpone gasket maintenance until a serious problem appears, a costly mistake that affects the bottom line.
Routine Gasket Inspection Schedules
Regular visual checks are the foundation of effective gasket care to ensure continued proper function. Schedule weekly inspections to catch potential issues before they become major operational or financial problems. Look for any visible cracks, splits, tears, or areas that appear brittle or compressed.
Note any sections where the gasket pulls away from the door frame during these checks. A dollar bill test can effectively check the seal’s tightness around the entire door perimeter. Proper documentation of these inspections helps you track the gasket’s condition over a longer time.
Proper Gasket Cleaning Procedures
Clean gaskets weekly with a mild soap and warm water solution to remove food debris. Use a soft cloth or a gentle sponge to wipe down the entire gasket surface. Avoid harsh chemicals or abrasive cleaners, which can degrade the gasket material and shorten its life.
After you clean the seal, rinse it thoroughly with clean water to remove any residue. A final wipe with a dry, soft cloth will prevent any moisture from remaining. This simple process removes buildup that could otherwise compromise the seal or harbor unwanted bacteria.
Safe Lubrication Alternatives
You can use a food-grade silicone lubricant to keep the gasket material pliable and supple. This application prevents the gasket from drying out, which is a common cause of cracks. It also helps the gasket create a much more effective and tighter seal against the frame.
Apply the lubricant sparingly with a clean cloth after you have cleaned and dried the gasket. This simple step, performed quarterly, dramatically extends the functional life of your cooler’s door seal. Investing in high-quality walk-in cooler gaskets will reduce long-term replacement frequency and costs.
Gasket and Door Alignment
Proper door alignment is paramount for an effective seal and requires consistent, careful attention. Check that the door hangs straight and makes even contact with the frame on all sides. Misalignment puts uneven pressure on the gasket, which causes premature wear in specific spots.
You should adjust the door hinges if you notice any gaps or uneven compression. This action ensures the gasket seals uniformly, which prevents cold air from escaping your cooler. Regular alignment checks preserve both the gasket and the cooler’s overall mechanical and thermal efficiency.
Correct Hinge Tension Adjustment
Hinge tension directly impacts how the door closes and how the gasket seals against it. The door should close firmly on its own without you needing to slam it shut. If the door closes too slowly, you risk significant cold air loss.
If it slams shut too hard, it can damage the gasket and the door. Adjust the tensioners on the hinges to achieve a smooth, self-closing action for best results. This small adjustment protects the gasket from unnecessary impact and ensures a consistent, reliable seal.
Door Sweep Coordination
The door sweep at the bottom of the door is an important partner to the gasket. It prevents air exchange at the floor level, where temperature differences are often most significant. This sweep must be in good condition and make firm contact with the floor threshold.
Inspect the door sweep for wear, damage, or gaps at the same time as the gasket. A worn sweep compromises the gasket’s effectiveness and lets warm air into your walk-in. Replace the sweep when it shows signs of deterioration to maintain a complete door seal.
Temperature Control Monitoring
A consistent internal temperature is a good indication of your walk-in cooler’s gasket seal integrity. Monitor and log the cooler’s temperature daily to detect any unusual or unwanted temperature fluctuations. A gradual temperature increase often signals a slow leak from a failing door or gasket seal.
If you see temperatures creeping up, perform an immediate, thorough gasket inspection now. This proactive temperature monitoring allows you to address seal issues before they affect food safety. It also helps you avoid excessive energy consumption from the system overworking to compensate.
Sanitation and Mold Prevention
Gaskets can harbor mold and bacteria if you do not clean them properly and often. This contamination can pose a serious health risk and create unpleasant odors inside your cooler. A strict sanitation schedule is one of the best gasket maintenance tips to extend lifespan and prevent these issues.
Use a food-safe sanitizer on the gaskets after you have cleaned and rinsed them thoroughly. This step eliminates any microbial growth and helps you maintain a hygienic storage space. Regular sanitation also prevents material breakdown that mold can cause on the gasket’s surface.
Employee Training on Gasket Care
Your staff plays a daily role in the longevity and performance of your cooler gaskets. Educate all team members on the proper ways to open and close the cooler door. Teach them to avoid propping the door open for extended periods of time for any reason.
Show them how to identify and report any early signs of gasket wear or damage. This collective awareness creates a culture of care that protects your equipment investment daily. It transforms routine maintenance from a single person’s task into a shared team responsibility and goal.
Replacement Timing and Selection
Know when to replace a gasket to avoid high energy bills and potential food spoilage. You must replace the gasket if it is torn, brittle, or fails the dollar bill test. Do not attempt to repair a severely damaged gasket; it is only a temporary solution.
When you select a replacement, choose a high-quality, OEM-compatible gasket for your specific unit. The right material and profile ensure a perfect fit and a long-lasting, effective seal. This decision protects your walk-in cooler’s efficiency and reliability in the long term.
Commit to a regular maintenance schedule for your walk-in cooler gaskets to ensure their longevity. These simple, proactive steps will save you a lot of money on energy and repairs. They also protect your valuable inventory and help you maintain a safe, efficient kitchen operation.